Quick Start
Get started with Msty Studio in a few easy steps
Quick Start is the fastest path for new users to go from install to first chat.
Choose Your Path
- Desktop (recommended): Best path for most new users and supports local model workflows.
- Web (Aurum): Use Msty Studio in the browser with remote providers or a Desktop/Sidecar connection.
Msty Studio Desktop Quick Start (Recommended)
- Download Msty Studio Desktop and install it.
- Open Msty Studio Desktop.
- On first launch, choose your setup path:
- Use local models (recommended for most new users)
- Add a remote provider with an API key
- Complete setup and click Let's Go!.
- Open a chat and send your first prompt.
Msty stores your data locally on your device. Data does not sync automatically between devices.
Msty Studio can install and manage its own Ollama service during Local AI setup. If you prefer to use an existing Ollama setup independently, add Ollama as a Remote Provider instead.
Optional: Install Local AI Services From an Archive File
During setup (and later from Settings > Local AI > Services Version), you can install an earlier Ollama version instead of the latest default.
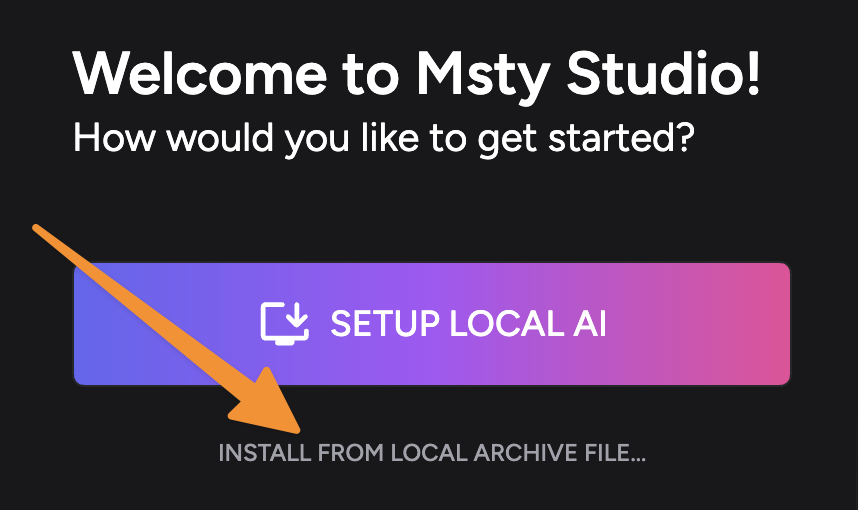
To install from an archive file:
- Download the correct archive for your OS from Ollama Releases.
- In setup, choose the archive file option.
- Select the downloaded archive file.
If Local AI setup fails with the default installer, archive install is a useful fallback.
Msty Studio Web Quick Start Aurum Perk
- Purchase an Aurum license and keep your license key handy.
- Open https://msty.studio.
- Enter your license key and click Next.
- Add a model provider:
- Add a remote provider (OpenAI, Anthropic, Gemini, and others)
- Or connect Studio Web to Msty Studio Desktop or Msty Sidecar
- Click Let's Go! and run your first prompt.
Safari user? Safari is not directly supported by Msty Studio. You can still connect through Remote Connections using tunneling.
Next Steps
- Managing Models to add and tune providers
- Settings to customize behavior and defaults
- Remote Connections to connect Web and Desktop